BUILDING A NEW STRIPED S-STYLE!

Page 4


SOMEBODY GET ME A DOCTOR!
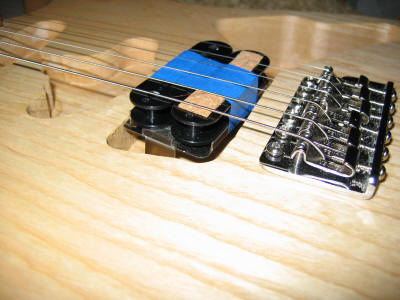
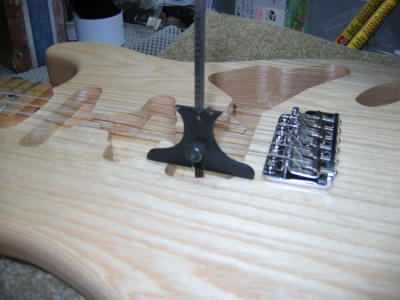
Using a pickup mockup.

On this guitar the pickup is mounted directly to the body.  There are no springs, rings, or other height adjustment devices.  Because of this, we'll have to make sure the height is right using a great deal of trial and error.

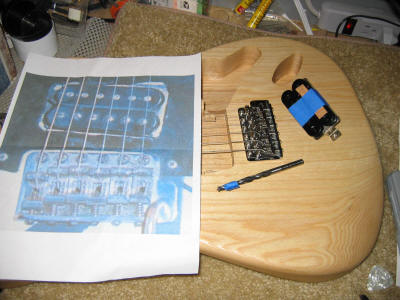
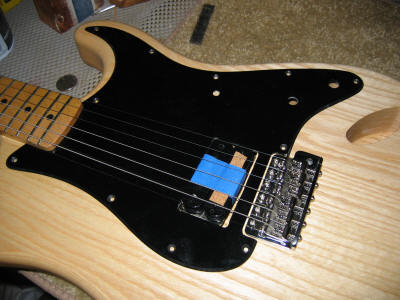
I wound an AttackBucker for this guitar.  I love my AttackBuckers, and I didn't want to screw one up to get the height right on the pickup.  Enter a mockup.

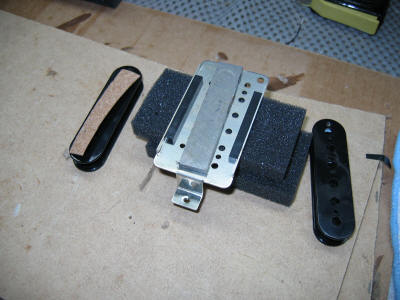
Off to the shop!  I had several bad coils and an extra base, so, voila -- a mockup to get the depth right.  The piece of cork on top of the screw coil simulates the height of the screw pole-pieces.  
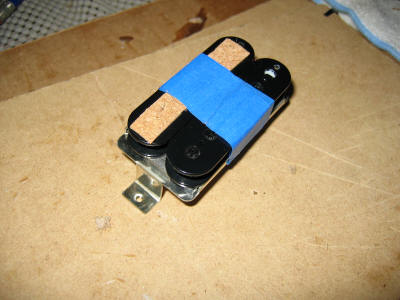
This mockup has a magnet and a couple of plastic spacers.  I taped it up with some blue masking tape.

My AttackBucker is not going to be aged, so I didn't want to scratch up a good one getting the dimensions right.

Remember -- always practice on scrap!


Getting the Pickup Adjusted

Here is out mockup in the cavity.  It is pretty clear that the prototype of this guitar had some wood hogged out with a chisel to make the pickup fit.

After some calculations we decided that several millimeters of wood would have to be removed in order for the pickup to fit. 

Time to Drill

Because of the tight fit of the pickup in the cavity, we couldn't use a Forstner bit or router to remove the wood.  We decided to use a 1/4" drill bit with a piece of tape to act as a visual depth stop.

On the left you'll see the template showing how to tilt the pickup to the proper angle in the cavity.  We believe this is crucial to the guitar's tone!

The Depth Stop

Using the trusty "depth finder" we checked the depth of the cavity on the bass side.  Right on!  Using a chisel we cleaned up the cavities and made sure they were flat on the bottom.

Safety Tip:  Take your time here.  If you go too deep you'll have to shim the pickup, and that will be a tone robber!


The Pickguard!

With the mockup in the cavity we slid the pickguard into place.  It looks great!

The alignment of the pickup in the cavity is perfect, and once we get the mockup installed we'll finish the pickguard.

Make sure the pickup is set before you install the pickguard.  This will keep you from having to drill and fill new holes!


Next up: LET'S WIRE IT UP AND SEE HOW IT SOUNDS!  RAWK!


Back to Page 1, Page 2, Page 3, Go to Page 5

Back to Top

 ATTACK HOME BUILDER'S GALLERY