|
More work on the neck.... |
| Install the tuners.
Since I'm using the Schallers from another guitar on
this one, the tuner holes had to be 10mm. While the actual Schallers were still being used, I used some "donor" Grovers with 10mm
bodies.
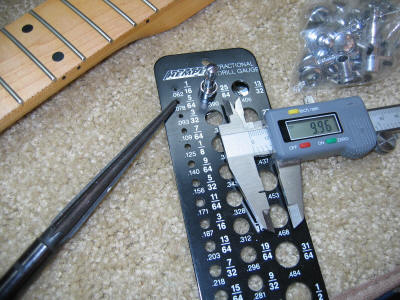
Using my caliper, I tested the "hole template" for
10mm. You can see the 10mm tuner fit into the 25/64 hole.
On the left you can see the reamer. I don't
recommend using a drill to drill out these holes. They tend to chip
out really bad and it is really easy to drill too much. |
 |
| Here is the reamer
with a tape depth gauge. When you start reaming the tuner hole, you
can continue until the tape hits the top of the neck. Always check
when you start getting close. You don't want slop in the tuner.
Using the reamer I enlarged each of the six tuner holes.
I used the reamer on the front and back, and alternated while enlarging the
holes. |
 |
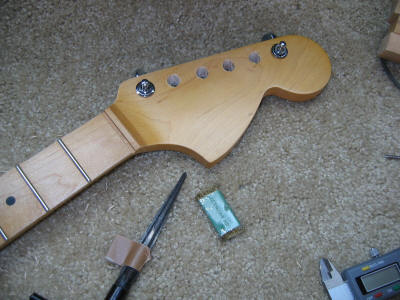
| Here is the neck with the
two "E" tuners installed. No holes were drilled on the back for the
screws. The Schallers and Grovers have different screw patterns.
We'll do that later. Why only two tuners? More to follow on
this. Note the "file card" to the right of the
reamer. This is a wire brush used to clean files. It works great
to remove wood from the reamer's cutting flutes. |
|
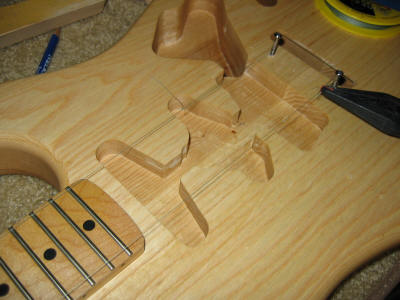
| How do I line up the
neck?
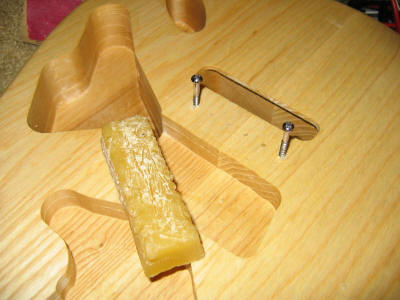
We'll use a genuine Fender vintage-style bridge on this
guitar. The body came with the six bridge screw holes drilled. After
making sure they actually lined up with the bridge, we screwed-in the two
outer screws for alignment.
As always, we use beeswax to lubricate the screws as
we screw them in. It seals the hole and makes the process much easier. |
|
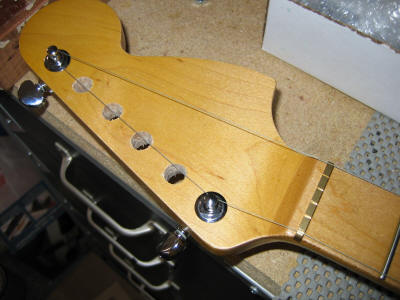
| Next we put the brass nut in
place and threaded fishing line through both of the E string tuners.
This simulates the string path for the two outside strings.
You can also use thread for this, but the fishing line is
stronger and won't break nearly as easily.
|
|
| With the neck in place I
tied the fishing line off on the two outside screws. I wiggled the
neck back and forth until it was lined up. Make sure the fishing line
"strings" are lined-up on the neck. I used a Quik-Clamp clamp to hold
the neck in place -- it is removed for this photo. |
|
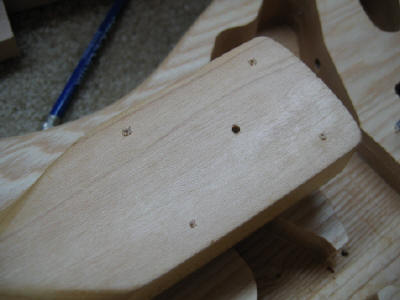
| Once the neck was clamped
and the alignment looked good, I put a nail in each one of the neck screw
holes on the body and tapped them gently. This made a "dent" to see where the screws would go. Once these
were
marked, I drilled a pilot hole for each of the screws.
This potentially the hardest, and clearly the most
critical, of all of the maneuvers because if this is done wrong or poorly,
it may lead to a guitar which is unusable!
Next up: Complete a fret job and prep the
body! |
 |
Back to Page 1, Go to
Page 3 |
Back to Top |
