|
BUILDING A NEW T-STYLE! Page 3 |
|
BUILDING A NEW T-STYLE! Page 3 |
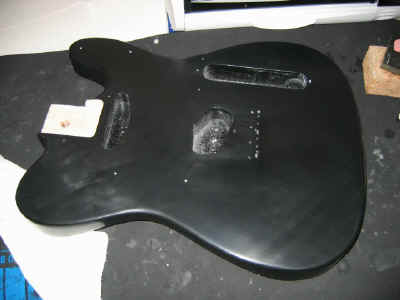
| Step 7: Finish the
Body Here is a shot of the body during the wetsanding process. While we thought we didn't like the black color, we actually decided to stick with the plan and go through with it. We bought some MicroMesh (available online) sanding pads, and they really work great. As stated earlier, the finish had a pretty severe case of orange peel, and it took a lot of work to work it out. In retrospect, we should have completed a Gibson-approved flash coat (a.k.a. scratch coat) of clear before final dry. What they do is sand the body with 220 sand paper -- all in one direction -- then spray the body with a 4:1 thinner/clear lacquer mix. The finish requires very little sanding. This one took longer than expected. We only let this only let this one dry for about a week and started with 600 grit paper.
|
 |
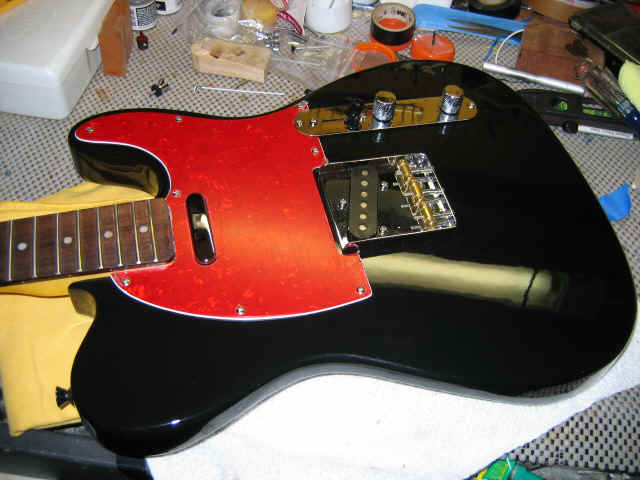
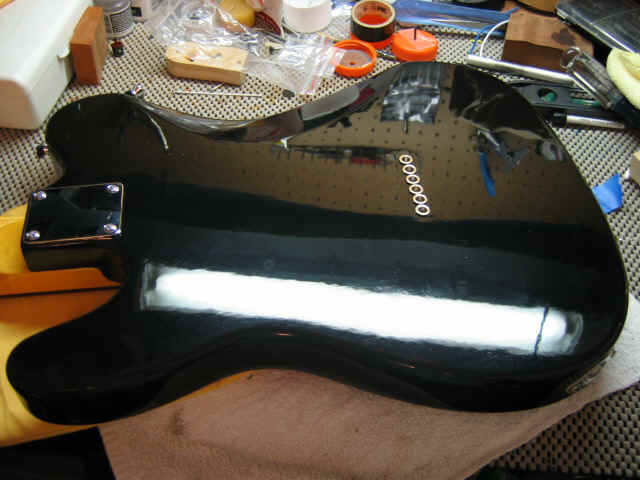
| Step 8:
Finish It Up! Here are a couple of shots of the body after buffing, and with the hardware installed. The nitro lacquer buffed out nicely, and the eBay Special bridge and pickguard look very cool. The ferrules on the back are not for the timid. This job requires some analysis...be extremely careful! By the way -- we rewound the rhythm pickup again. This time we put more wire on the bobbin, and we think it sounds a lot better. |
|
|
|
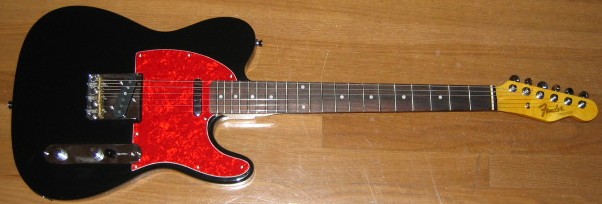
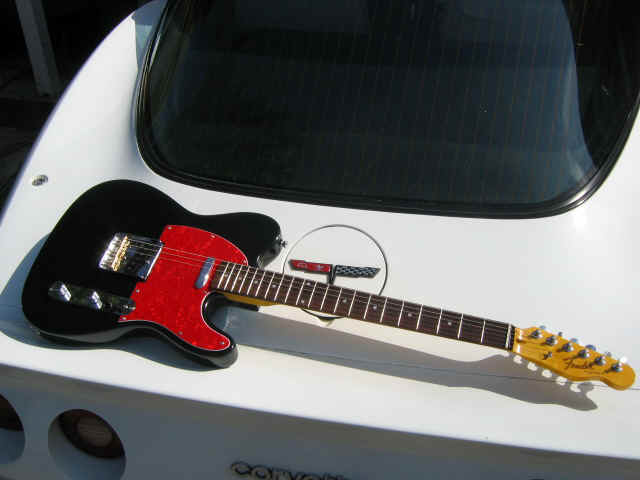
| The Final Analysis.
Here are a couple of shots of the final guitar with the plastic off of the
pickguard and the strings installed. The guitar sounds great...like a
T-Style
should...and will be a welcome addition to our guitar arsenal. This eBay rig wound up costing about the same as a Squier Tele, but it has Grover keys, handwound pickups, and a nitro lacquer finish. I don't figure labor on a personal guitar! The real bottom line is to watch what you buy on eBay.
I actually saw a "Strat" that had a genuine Fender neck with a bunch of
import parts and a plywood body. I always recommend buying from a reputable dealer,
and if the deal is too good to be true, it probably is. |
|
|
After much hand wringing (not sure why...) we upgraded the electronics in this rig. We installed two CTS 250K pots, a CRL 3-position switch, and a Switchcraft jack, replacing the non-substantial Chinese electronics. We rewired the entire guitar with vintage cloth-covered wire, and the difference in sound was remarkable. We normally shy away from such claims, but this guitar sounded like a completely different guitar after the wiring upgrade. The twang is just killer! The new wiring brings out the best in our custom-wound pickups. Lessons Learned: The CTS pots would not fit through the Saga mounting plate, and we had to drill. Second, when we mounted the switch and pots on the plate, it wouldn't fit into the Saga's cavity. We had to chisel out a little wood on the front side of the cavity. Finally, we had to trim a little pickguard material to allow for the control plate's forward movement. All in all, a great modification, and one of our favorite guitars. It is clear that we are going to have to refret this guitar because the frets seem like they are wearing incredibly quickly. More to follow...
As stated in our July 2006 update on the Opinion Page, the Deft lacquer we used on this guitar was a complete no-go. After a trip in a gig bag, the finish was "marked"; that is, the inside pattern of the gig bag left an impression on the guitar body, both front and back. Click here to read about how we dealt with it. |
|
|
|
|
|
|
| Keep checking back for updates! | |
| Go to Page 1, Page 2 | |
| ATTACK HOME | BUILDER'S GALLERY | ||||||||||||||||||||||||||||||||||||||||||||||||||||
|
|||||||||||||||||||||||||||||||||||||||||||||||||||||