|
FINISHING UP THE JEFF BECK LES PAUL! |
| Here we go again...the next, and
hopefully final chapter in the nearly six year odyssey with the Jeff Beck Les Paul.
After a great paint job the crack reappeared and the Kahler repair telegraphed
through. The bottom line is that this is the last attempt to the repair to the top.
If it reappears we'll relic it and play it hard. Check the photos below, and click on them for a full size version (see
them up close). |
|
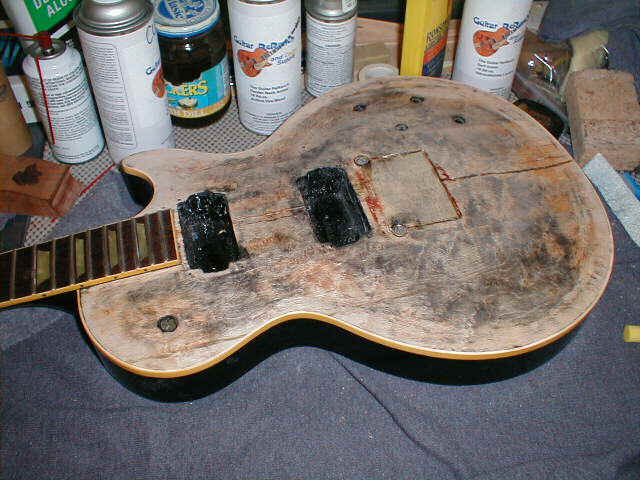
| First, we stripped the top yet again to reveal
the true damage. We used Citrusstrip because we were only stripping the top, and we
didn't want a quick, nasty strip. As you can see, there is a maple square glued into
to the top where the "chiseled out" Kahler cavity was. There is a crack in
the maple from that cavity to near the strap button. Mistake 1: We initially used auto body filler to fill the cracks, and it acted funny when hit with the lacquer. Mistake 2: We didn't use shellac or other sealer prior to going to color coats.
|
|
| To rectify our problems, we ground the
autofiller out with our Dremel tool. Once complete, we filled the cavities with Famowood
filler from Lowe's. After two weeks of drying, we sanded it nice and smooth.
To seal it we hit the entire top with BINs shellac, just like with the Goldtop FM3.
Funny old thing -- following directions from ReRanch can lead to success. We got several coats of the BINs on the top, sanding with 240 Fre-Cut in between coats. It was really, really smooth...then it was time to wait. The guitar sit inside the house for two months in this state -- waiting to see what would happen with the crack! Well, nothing happened, and the humidity was down outside, so....time to spray!
|
|
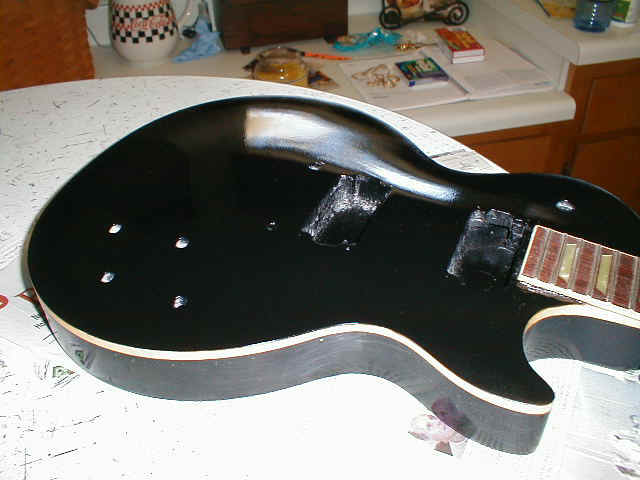
| Using ReRanch Black we put a couple of coats on
the top. We used just enough to cover the white primer. Here is
a shot of the top before we scraped the binding. Safety
tip: Many luthiers use thin 3m tape to tape the top binding during painting.
It is our experience that this can really screw up a nice paint job if not done
perfectly. Our advice is to tape the sides of the binding, but not the top. |
|
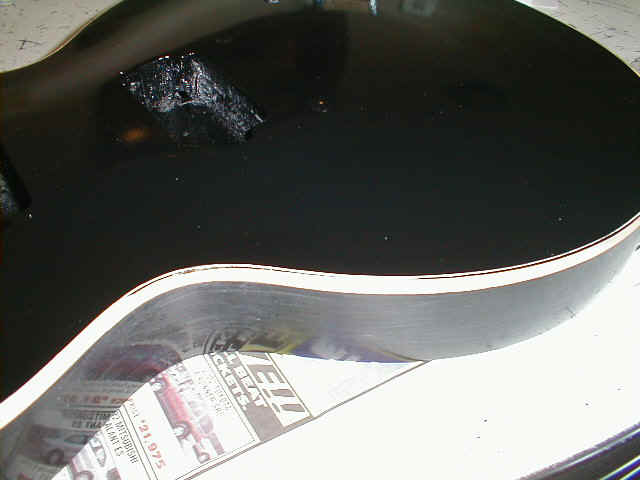
| Using our "indexed razor blade", as
seen on the FM3 Goldtop page, we started scraping the binding. The critical bit is
to ensure that you have a nice, clean uniform edge with the black paint. As you can
see here, the first order is to get the edge, then carefully scrape out to the outside of
the binding. This step can go horribly wrong if you scrape too far in and hit maple or sealer. This is why you have to figure out how deep the binding is going to be and index your razor blade before you paint the top. |
|
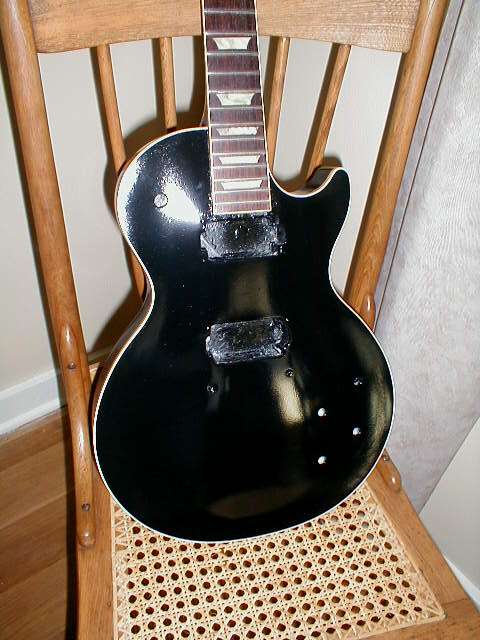
| With the binding scraped, we shot a couple of
thin coats of clear to protect the paint. The guitar is starting to look good again. While it may appear that there is some serious orange peel on the body, the paint actually looks great already. The next step is to leave the guitar inside for a while, check the integrity of the repair, and get ready to finish the clear coats. Time to finish it up...click on Page 2 below to see what's next. |
|
| Page 2, Back to the Jeff Beck Description Page | |
|
||||||||||||||||||||||||||||||||||||||||||||||||||||