|
The Spare Parts Les Paul |
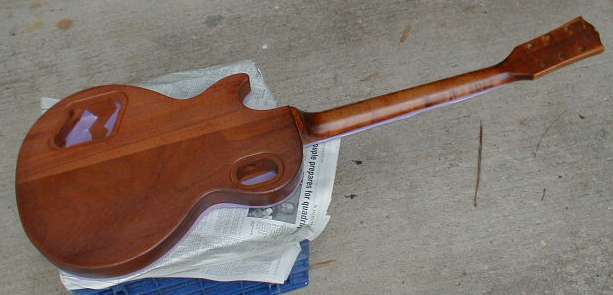
| Since the Jeff Beck Les Paul
was finished, we decided to break an old project out of the guitar locker and start a new
refin. This is the story of the completion of the Spare Parts Les Paul, a
project that has been in the works for nearly six years. We had originally wanted to do a transparent red finish, but we decided on a faded sunburst after some careful deliberation. Click on the photos below to see regular-sized versions, and read on.
|
||
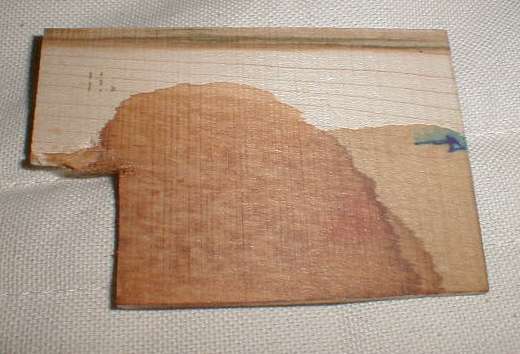
| Through the generosity of the ReRanch, we got
some killer dyes to experiment with. Our Les Paul has a maple neck, and the
lightness of the maple against the mahogany of the body is not good. We decided to
dye the neck to look like the body. As you can see below we practiced on some scrap
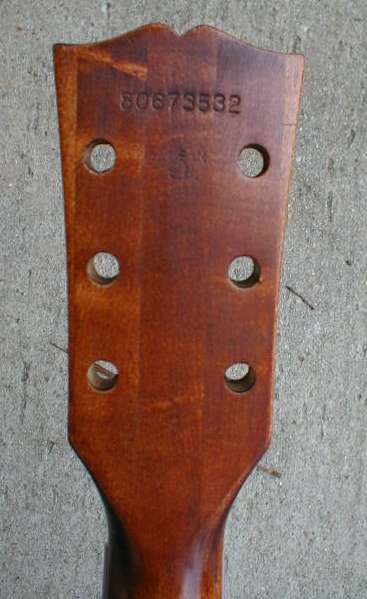
maple to see what our dye concoction would look like. What the dye wound up being is mahogany red and walnut brown in an alcohol (no water) base. The alcohol dyes seem to go on much easier than the water dyes. We added a small squirt of TransTint Red to give the dye a little more red character. As you can see, the match wound up being pretty close. The headstock looks great also -- we finished it much like the Jeff Beck Les Paul. Yes -- there is a real Les Paul decal for it. |
|
|
|
|
 |
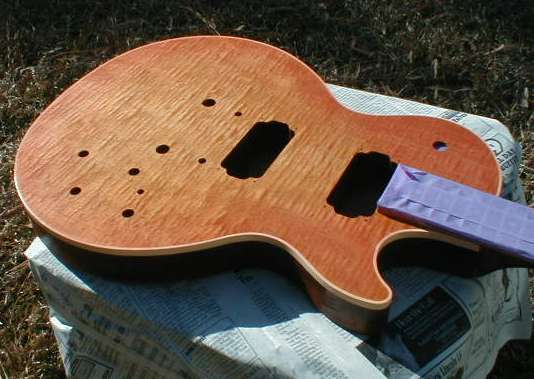
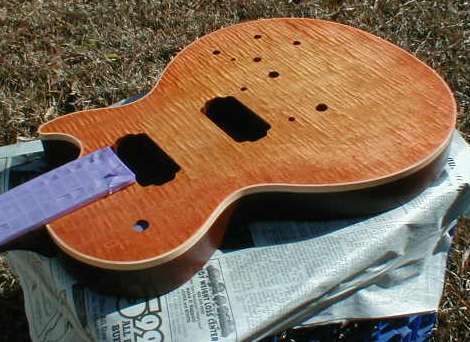
| To the right are two shots of the guitar after
we completed dying the top. We decided against a sprayed sunburst, and decided to do
a traditional hand-applied burst. This took some time, but we believe the results
will be worth it. Once again we used denatured alcohol as the base for the dye.
We used TransTint Amber for the center, and a weak solution of TransTint Red for
the burst. The amber had a slight reddish tint, and the red was very diluted.
We did a lot of rubbing on this top to get the right transition.
|
 |
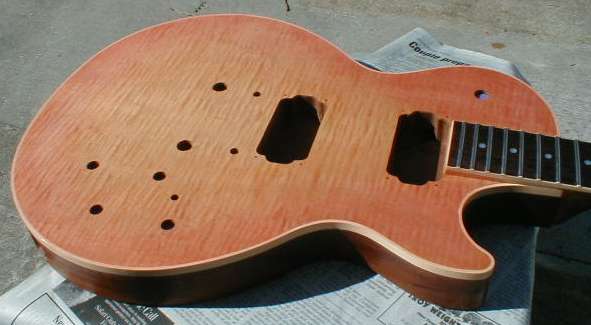 |
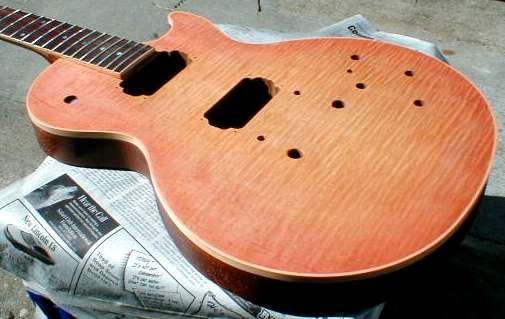
| Below are some shots of the top after we shot the first few coats of clear lacquer. The flame literally is jumping off of the guitar! It looks like we got the color about right -- it is always tough to tell before you hit it with clear! It looks very Slash-like in person. | ||
|
|
|
| Now that the top is looking good,
we're going to finish the body. Fill and sand, fill and sand. Normally you
complete that before the top, but we were concerned that we might not have been able to
get a good look on the laminate top. We believe this is going to be a great looking
guitar.
|
||
| Page 1, Page 2, Page 4, Page 5, Page 6 | ||
| ATTACK HOME | BUILDER'S GALLERY | ||||||||||||||||||||||||||||||||||||||||||||||||||||
|
|||||||||||||||||||||||||||||||||||||||||||||||||||||