|
| Note from
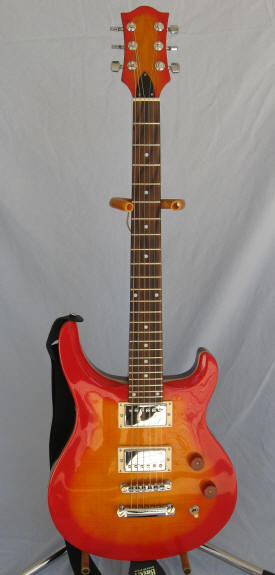
GuitarAttack: What a great-looking guitar. Killa sunburst! ROCK! From John Curry
Since this kit has
press-in bushings for the bridge and tailpiece, I wasn’t sure what to |
 |
|
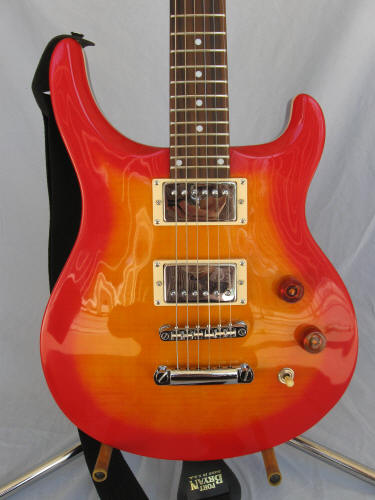
The neck was straight, but the frets were a little uneven, so I leveled
and crowned the frets. I got new cream colored pickup rings to replace
the stock black ones, but the screw holes in the new pickup rings did
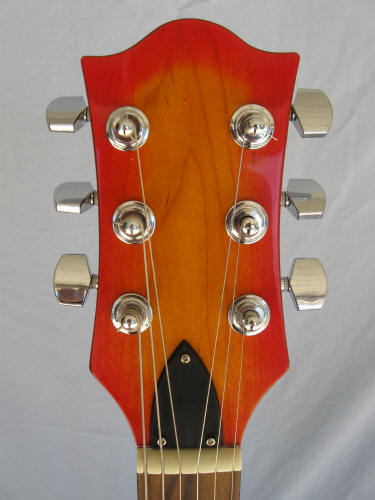
not line up with the screw holes in the body. So I had to plug and re-drill the holes in the body. I pre-fitted the neck and checked the neck angle as best I could without installing the bridge. It seemed like it would be OK, so I went ahead and applied the finish. I used Behlen “Starcast Amber” lacquer for the yellow, Rust-oleum red lacquer for the cherry, and Behlen “Encore Brown” for the back and neck. I sprayed the brown on the back and sides first. Then I masked the faux binding with quarter inch auto pinstriping tape and the sides with blue masking tape. I sprayed the whole top amber. Next, I used a cardboard mask the shape of the top only smaller and sprayed the red. After cutting the headstock to shape, I used the same method to paint it. I used Behlen Stringed Instrument Lacquer to clear coat the guitar. I let the parts sit for several months before sanding and rubbing out the finish. On to assembly. |
 |
|
I replaced the stock pots with better quality ones from Stew-Mac. I also
replaced the stock black switch tip with a cream colored one, and the
stock knobs with amber speed knobs. All the other hardware and
electronics are stock. I did rewire the controls and solder all
connections. I used this wiring diagram from GuitarElectronics: http://www.guitarelectronics.com/product/WD2HH3T11_00/Guitar-Diagram-1-Humbucker-1-volume-1-tone-3-way-toggle-switchView-Download-Free |
 |
|
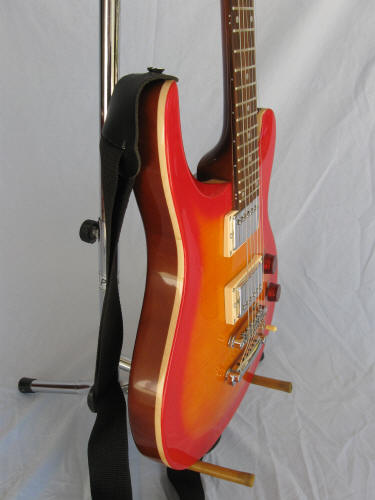
After assembly and setup the guitar plays well and sounds good. With
respect to the finish, I think it would look better with a more gradual
transition between the yellow and red. Overall, though, I’m pretty happy
with the final product. Thanks for all your hard work with this site. It benefits us all. John |
|
| Killer job, John -- Thanks for the great photos and story! | |
| ATTACK HOME | "SAGA SAGAS" MAIN | ||||||||||||||||||||||||||||||||||||||||||||||||||||
|
|||||||||||||||||||||||||||||||||||||||||||||||||||||