|
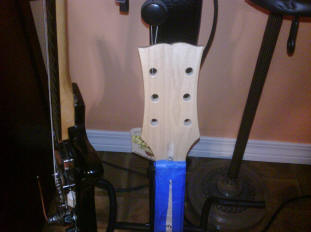
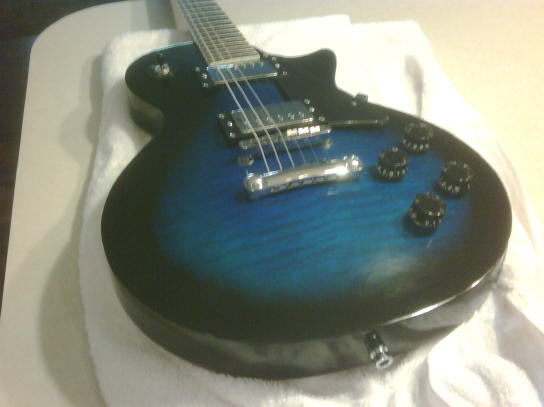
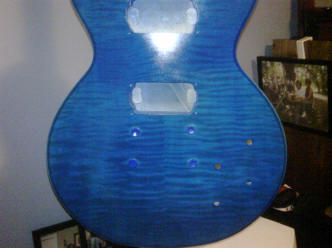
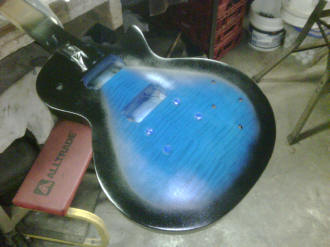
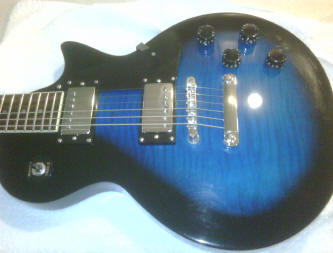
Note from GuitarAttack: Nice logo and cool finish. Great work! From David Taylor Your Saga guitar builds were inspiring. I was in the process of deciding where to order my Saga LC (Les Paul clone) when my brother-in-law said he picked one up at a salvage store for a couple of bucks. He told me I could have it if I wanted it, all he was going to do is put it in a yard sale. Well duh! Of course I took it. I put it together and test fit and played it. The nut was so high it was almost unplayable. I adjusted the truss rod, filed the nut, and it was good to go. (Note: This is part of the goodness of Saga guitars -- learning to set up your own instrument. Ed.) After playing it for a few days, I was ready to take it apart and put a finish on it. This is when I realized that if you have to hammer the ferrules into the body, you better be prepared to paint around them (rats!) I sanded the body lightly to smooth the sealer and then started painting. I laid down a coat of blue to start. Using Duplicolor Metalcast gave me the translucent look I was shooting for. It is designed to paint on chrome so I tried it on a lot of wood scraps and it gave me the look I was aiming for. I then used a fine Scotchbrite pad to scuff it and even the color out. Then I cut a cardboard template (and using pushpins for spacers) painted the sides and back in black. After painting the headstock and neck, I started spraying 3 cans of Deft Clear Lacquer on everything. And then it was sand (800), sand (1000), and sand (1500). Now polish with Turtle Wax polishing compound and Swirl-X. I added new wiring, pots, Gotoh locking tuners, and Dunlop Strap locks and it was
ready to play.
I like it! …. And that what counts. |
|
 |
|
 |
|
|
|
 |
 |
|
Great work on the finish! |
|
| ATTACK HOME | "SAGA SAGAS" MAIN | ||||||||||||||||||||||||||||||||||||||||||||||||||||
|
|||||||||||||||||||||||||||||||||||||||||||||||||||||