Special Thanks to Dave Slusser for providing this article.
Installing tuning machines on a neck
not drilled for THOSE machines.
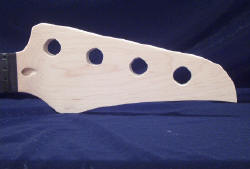
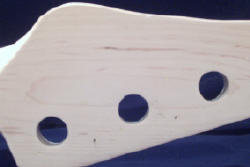
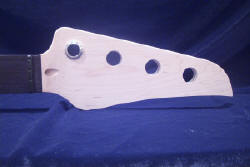
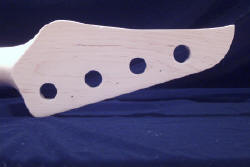
Recently I was asked to build a Bass guitar for a guy. Not an odd request,
except that after I acquired the neck, I found that it was pre-drilled and
the holes were too small for the type of tuning machine that I was using.
The client asked for a particular type of
machine and I had to ream the holes (photo 1) and plug (photo 2) and
re-drill the screw mounting holes. If you’ve ever installed tuning machines
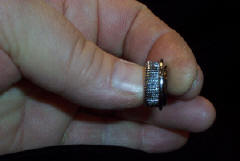
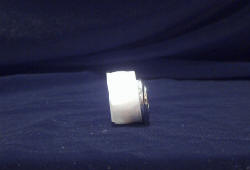
without a locking nut type of top threaded bushing (photo 3), then you can
imagine how difficult it would be to hold the tuner, the bushing, the
square, and the drill bit needed to mark the hole locations all with only
two hands. The biggest problem is getting the bushing to stay centered
in the string post hole.
As a technique, when I drill tuning machine
holes I always drill them about .010” larger than they need to be., After
all, you WILL gain about .008” for lacquer. So, if the hole is basically the
correct size BEFORE you spray the finish, well, after you are done and
you’ve gained .008” for finish, you’ll need a hammer to get those tuning
machines and or bushings in the wood. This is NOT a good idea on a great
finish !
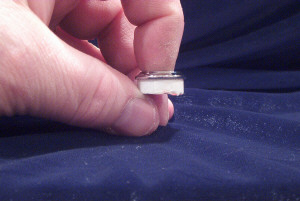
Now back to the subject. First get some cheap
masking tape. I use the painter’s type that is labeled as being low tack.
Take a strip of it about three times the circumference of the tuner or
bushing and cut it in half length wise. Now wrap one half of it around the
bushing just below the top trim collar, (photo 4) that’s the part that sits
on top of the headstock. Next, trim any tape off that sticks below the
bushing (photo 5) so that just the part that sinks into the wood has tape
around it.
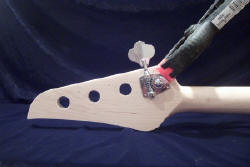
Now try to insert it into the headstock and
see if it fits snugly (photo 6), but NOT too tight. Basically you’ve just
centered the bushing in the hole and stopped it from dropping out. If it
does drop out, add some more tape and try it again.
Once you have the bushing and tuner in place,
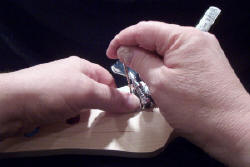
get a spring clamp like the one in the photo (photo 7). Orient the tuner to
about the correct spot and place the clamp on the back side of the tuner or
mounting plate and clamp it.
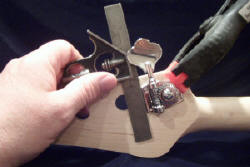
Now take a square (I use a small machinist’s
square) and slide carefully down the edge of the headstock and against the
tuner plate to square it up to the headstock edge (photo 8). What I
normally do is use a drill bit the same size as the mounting screw hole,
push it lightly through the hole and rotate it backwards with my fingers
(photo 9) to make an impression in the wood.
Once you’ve done this, you can remove the
clamp and the tuner and go repeat the process for the first hole in each of
the other tuners. Remember -- DON’T mark out any more of the holes in that
plate without the bushing and one mounting screw in it’s place ! After
you’ve drilled the first mounting screw hole reinsert the bushing, put in
the mounting screw, double check your alignment with the square, THEN mark
the rest of the holes (photo 10).
Beware -- if the bushing isn’t in place
you have NO way of knowing if the string post is centered in the tuning
machine hole.
After you’re done with the first hole repeat
with the other three, four, five, or six depending on what you’re building.
I hope this helps someone... Happy building .
Dave Slusser |